This post was written by Boston Content committee member Juliana Casale, currently the Head of Marketing at Crazy Egg. You can follow her on Twitter @attackofthetext.
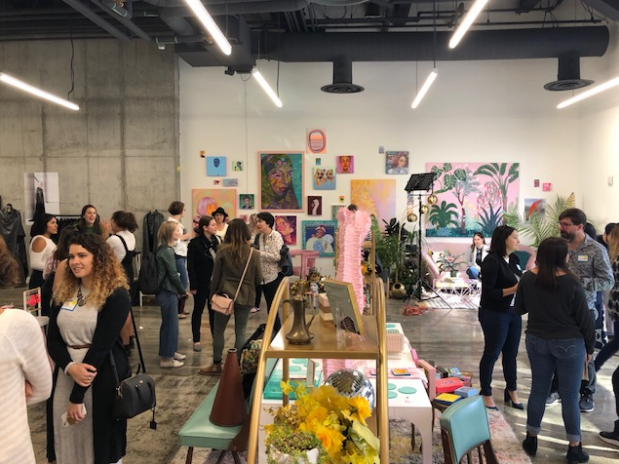
Sometimes you just know a good thing when you see it. When I entered Hourglass Fenway on the afternoon of August 22nd, I instantly fell in love with the bright colors, inventive clothes and eye-catching wall art. It was like stepping into the pages of a magazine, and I just wanted to spend more time there.
If you’re not familiar, Hourglass Fenway is the brainchild of fashion designer Erin Robertson and interior designer Nicole Fichera.
When I learned their popup space was only hosting events and photo sessions for 6 weeks, I decided I had to get Boston Content’s community of creative professionals involved. Thanks to Creative Mornings Boston’s Sophia Moon, we quickly had a set of volunteer instructors lined up to share their videography and photography skills in a hands-on workshop format.
The event sold out, so if you couldn’t make it last week, here are a few tips from each of the three session leaders:
Kim Maroon: Tools of the Trade
Kim’s workshop focused on inexpensive equipment and general tips for capturing great photos and video. She brought several accessories as examples:
To keep video tracking smooth, you can use a stabilizer to keep your GoPro or smartphone steady.
To give people a first-person perspective on an event or on a specific object so it feels like they were there, you can mount a camera on your body using a harness or place it at eye level on a tripod somewhere in the room, on an auto capture setting so you’ll have lots of candid shots.
If you’ve attached a GoPro or a phone to a moving object to capture a video scene, you can often use a phone app to sync or control the settings remotely.
Kim’s Pro Tip: You can pause a time lapse video as a way to capture a series of great still shots.
Eric Leone: Interview Lighting and Audio Capture
During his workshop, Eric provided tips on how to set up and record an interview. If you’re interviewing someone in a new space, he advises following these steps:
Turn off all the lights.
Assess whether there’s enough natural light from a window to capture your subject. If there is, position your interviewee by the window.
If there isn’t, flip additional lights on or add your own. Being methodical about testing one element at a time will make it easier to achieve your desired effect.
Eric’s Lighting Tips:
Slightly overcast days are actually the best days for capturing an interview with natural light, because sunny days can cause glare. If it is too bright outside, you can hang a bed sheet over the window to diffuse the sunlight.
Since the light changes over the course of a day, be mindful of keeping the exposure uniform between takes.
You always want to draw attention to your interviewee and keep them separated visually from whatever’s behind them. You can achieve this with a contrasting background and/or a ring light behind their head (placed opposite your key source of light).
Eric’s Audio Tips:
Assess your “room tone” (any ambient noise that will interfere with your recording). Is there a refrigerator humming somewhere? Is the AC running? If there are any variables you can control, shut them off.
Often, being near a window means outside noise (like sirens or honking) will be picked up on your microphone. Sometimes you have to sacrifice being near a natural light source for better sound quality (because people are often more willing to forgive bad lighting than bad audio). If you absolutely have to be near a window and there’s street noise, frame the shot so viewers can see the traffic. It’s easier to accept bad audio if you can see the cause.
Juliana Aterje: Portrait Lighting
Light can be flattering, helping your subject appear more beautiful, happy, evocative, dramatic, mysterious or moody. Which lighting pattern you choose simply depends on what effect you want to create.
During her photo workshop, Juliana demonstrated the five primary types on a volunteer and explained why you would pick one over the other in certain situations.
In flat lighting, the main light source is right above the lens and falls directly in the subject’s face. This approach smooths out skin imperfections and makes the subject’s eyes pop.
When you move the main light higher, above the subject’s face, that’s called butterfly lighting. This pattern makes the subject’s face appear more slim/glamorous and is often used in magazine shoots.
Loop lighting at a 30-degree angle (up, to the right) is a go-to technique for portrait photographers. It draws attention to a subject’s eyes and adds dimension to their face.
If you have a subject with a full or round face, Rembrandt lighting will help you add definition. When you hold the light source at a 45-degree angle, you’ll cast a triangle of light from their nose to the corner of their mouth.
For a dramatic or sinister effect, try split lighting, which casts a shadow across half of your subject’s face.


